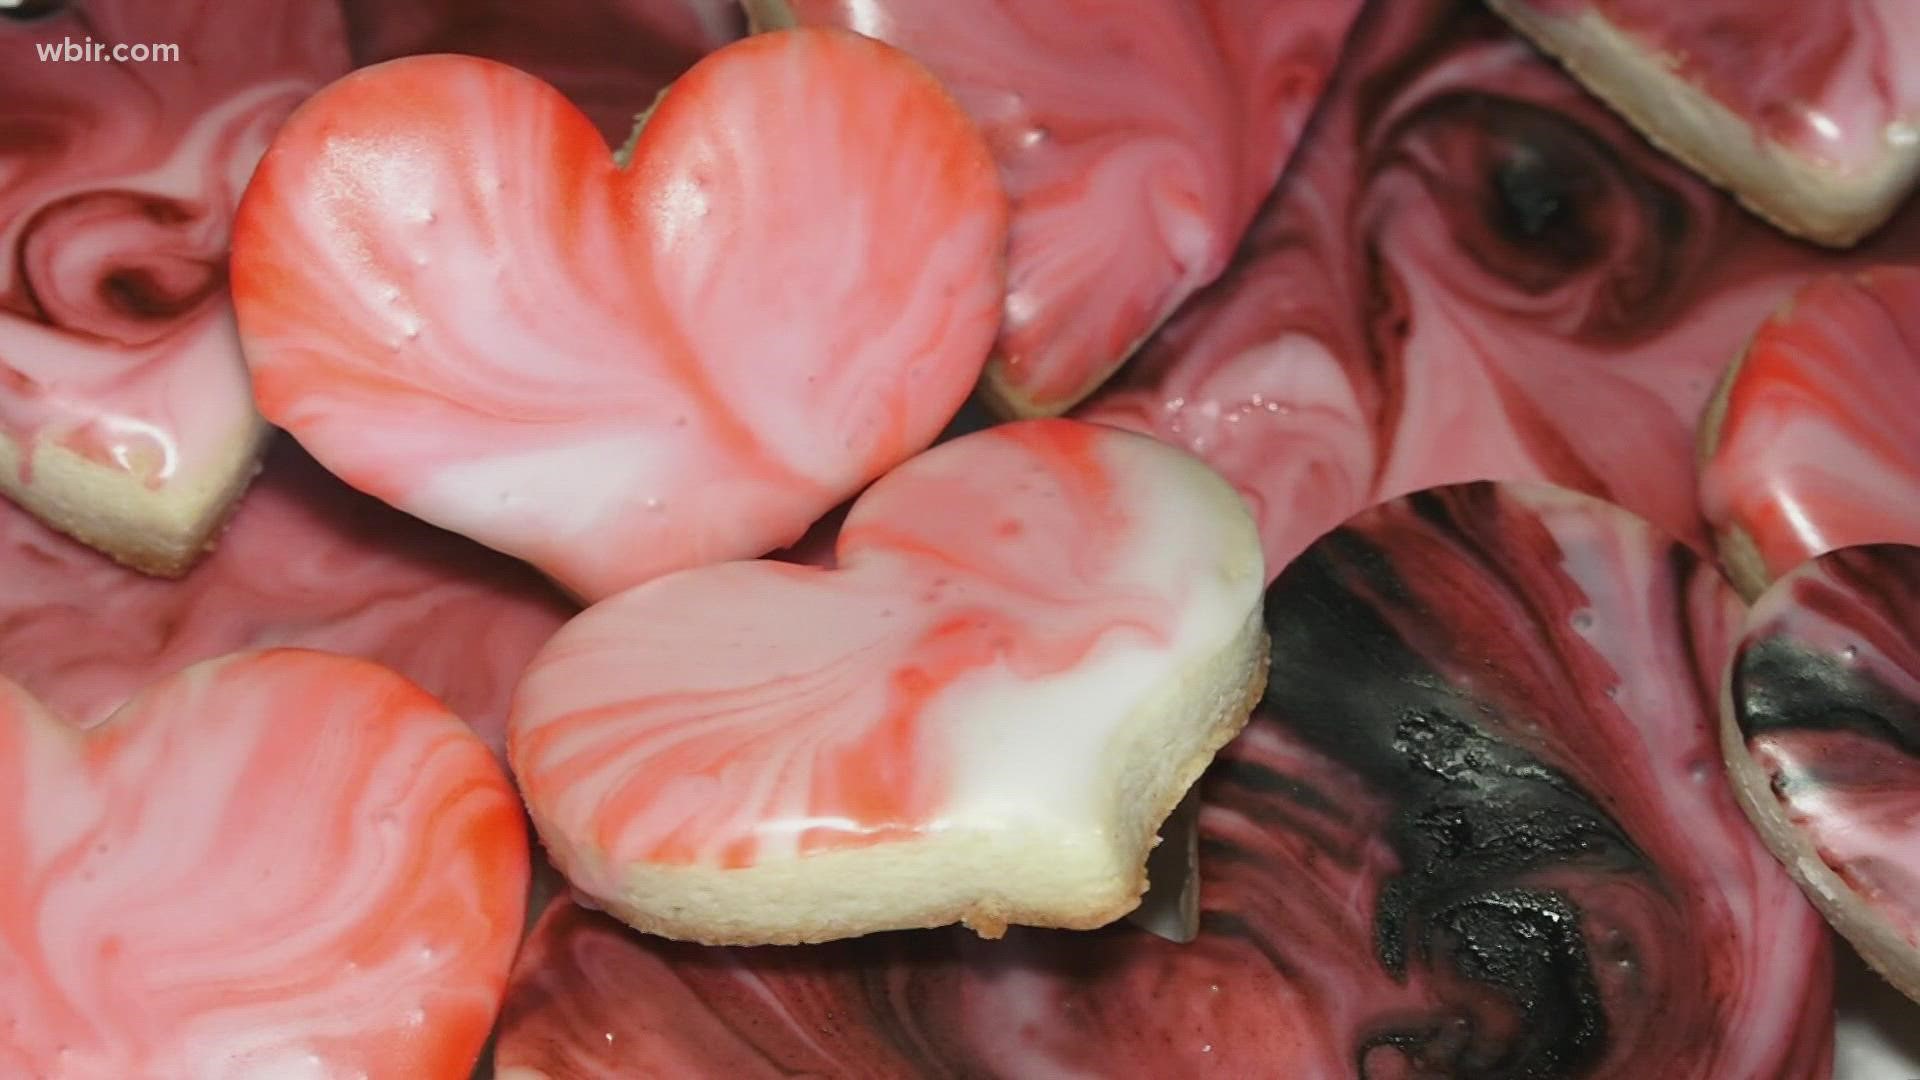
KNOXVILLE, Tenn. — Somehow, it's already almost Valentine's Day. So what are you getting for the person or people you love?
This year, don't break the bank. Plus, there's a shortage of everything at the store anyway. How about something homemade?
Resident 10News baker Shannon Smith (that's me!) has an easy cookie decorating hack sure to wow your boyfriend, wife, kids, grandma, nosy neighbor, and everyone in between.
So let's do it, let's make some marbled sugar cookies!
I bake a lot of cookies, and I always use the same sugar cookie recipe.
Click here for the recipe from local Sevierville baker and cookie artist Lisa Snyder. She also has lots of baking hacks on her blog, The Bearfoot Baker.
Note if you use this cookie recipe, don't feel like you have to run out and get a food scale. Just measure your flour the old-fashioned way in a measuring cup!
Bake those cookies according to the recipe and let them cool.
Now comes the fun part!

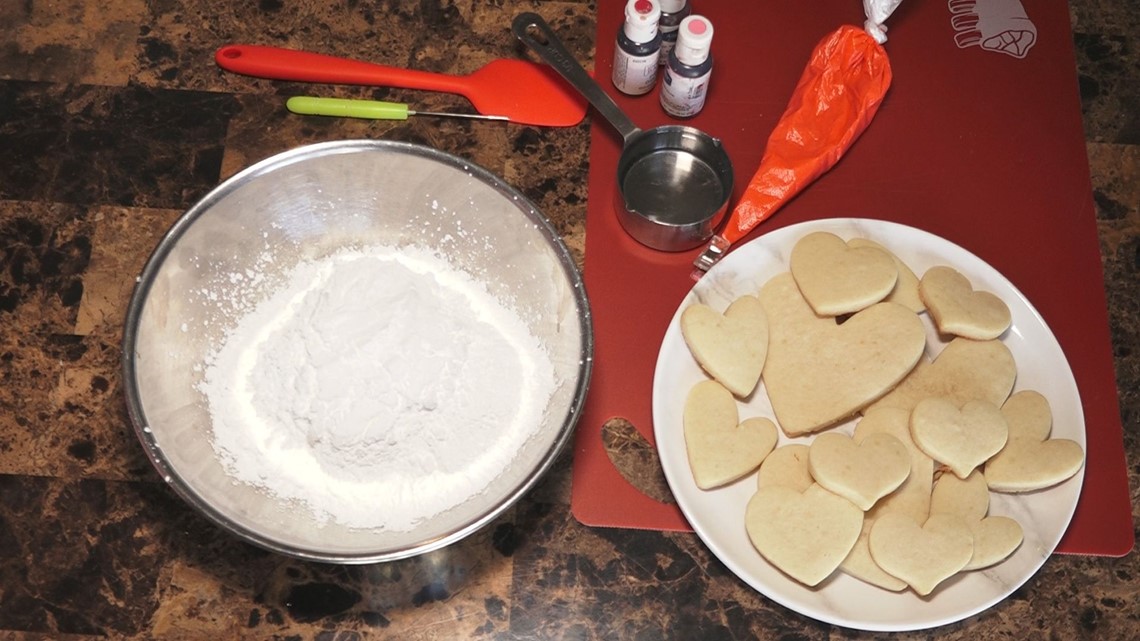
Get your decorating supplies ready to rumble. Here's what you'll need for this activity:
- 2 cups powdered sugar
- 1/3 cup water
- A medium-size bowl
- Food coloring
- Spatula
- Scribe, toothpick, or fork
- Sugar cookies for decorating

Start making your powdered sugar icing by putting the powdered sugar in a bowl, and adding small amounts of water at a time. As you stir the mixture with your spatula, slowly add more water to thin the consistency.
You don't want your icing to be so thick it's hard to use, or so thin it's runny and gets all over the place. Aim for a consistency that easily drips off your spatula and back into the bowl. Bubbles may form, which also shows you're probably at the right stopping point!
Next take either food coloring, or a different color icing and put in a few drops, or squiggles.

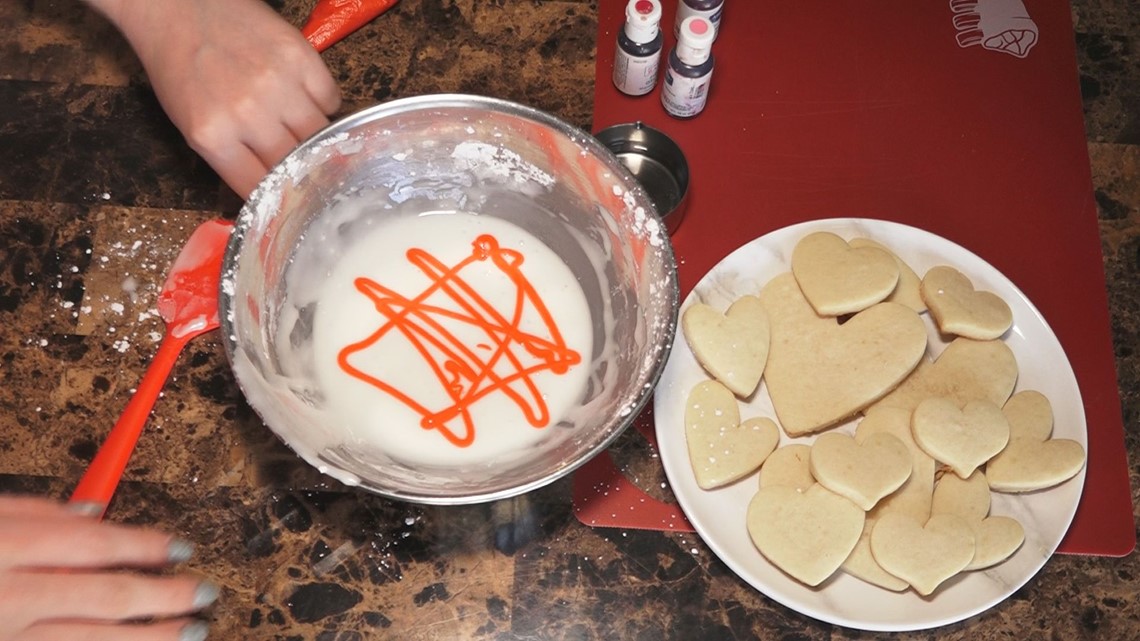
Take your scribe, toothpick, or fork and mix around these colors until you get a marbled look.
DO NOT completely mix in the color. We're not trying to make a new color of icing. Rather, we want to work with two distinct colors in the bowl at the same time.
Take a cookie and place it flat into the icing mixture.
Wiggle it around a little bit to make sure the entire face of the cookie is coated with icing.
Slowly lift up and gently shake the cookie to get rid of excess icing.
Carefully flip the cookie over to see your cool design!

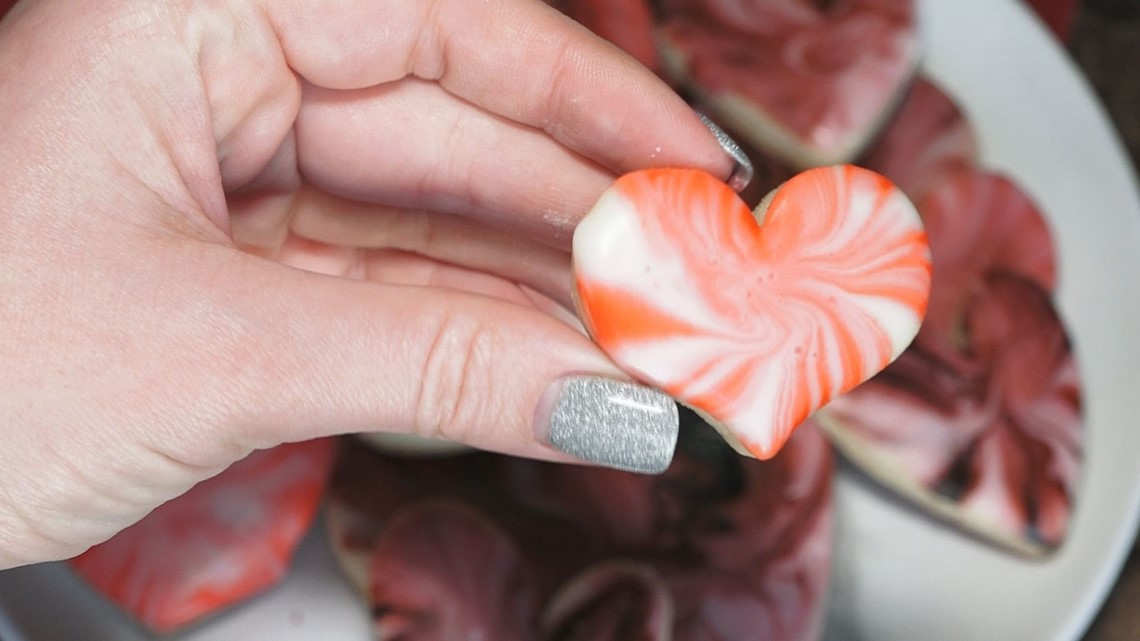
This technique can be done with any shape of cookie and any combination of colors you'd like.
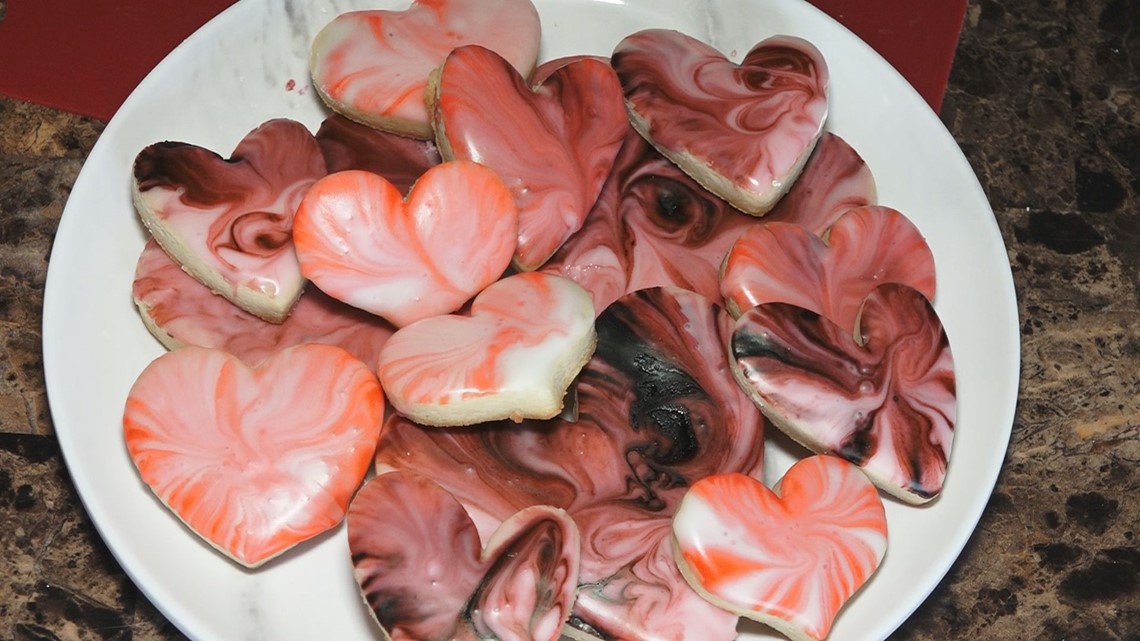
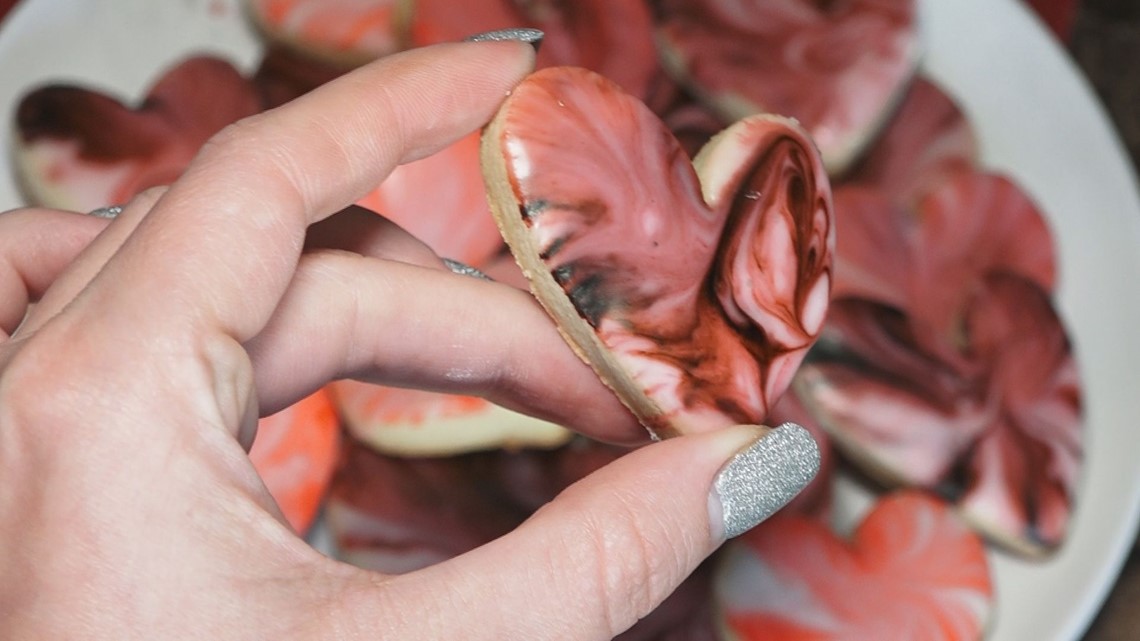
If you choose to mix a few drops of food coloring into the icing and marble with that, note that you will get darker swirls because the food coloring is stronger on its own when not mixed in fully.
This should not alter the taste, just the style!
Note the difference in textures. The cookie pictured above was made by marbling two colors of icing.
The cookie pictured below was made by marbling a few drops of food coloring and one color of icing.

This type of icing takes a while to dry. Let the cookies sit for at least a few hours before handling.
Gently touch the icing later to see if it's hardened.
Then, package them and give them to your friends, or surprise your family with a plate of these for dessert.
It's a free way to show those in your life you love them.
Happy Valentine's Day!

